Wednesday, March 21, 2012

Pork Chops with sage


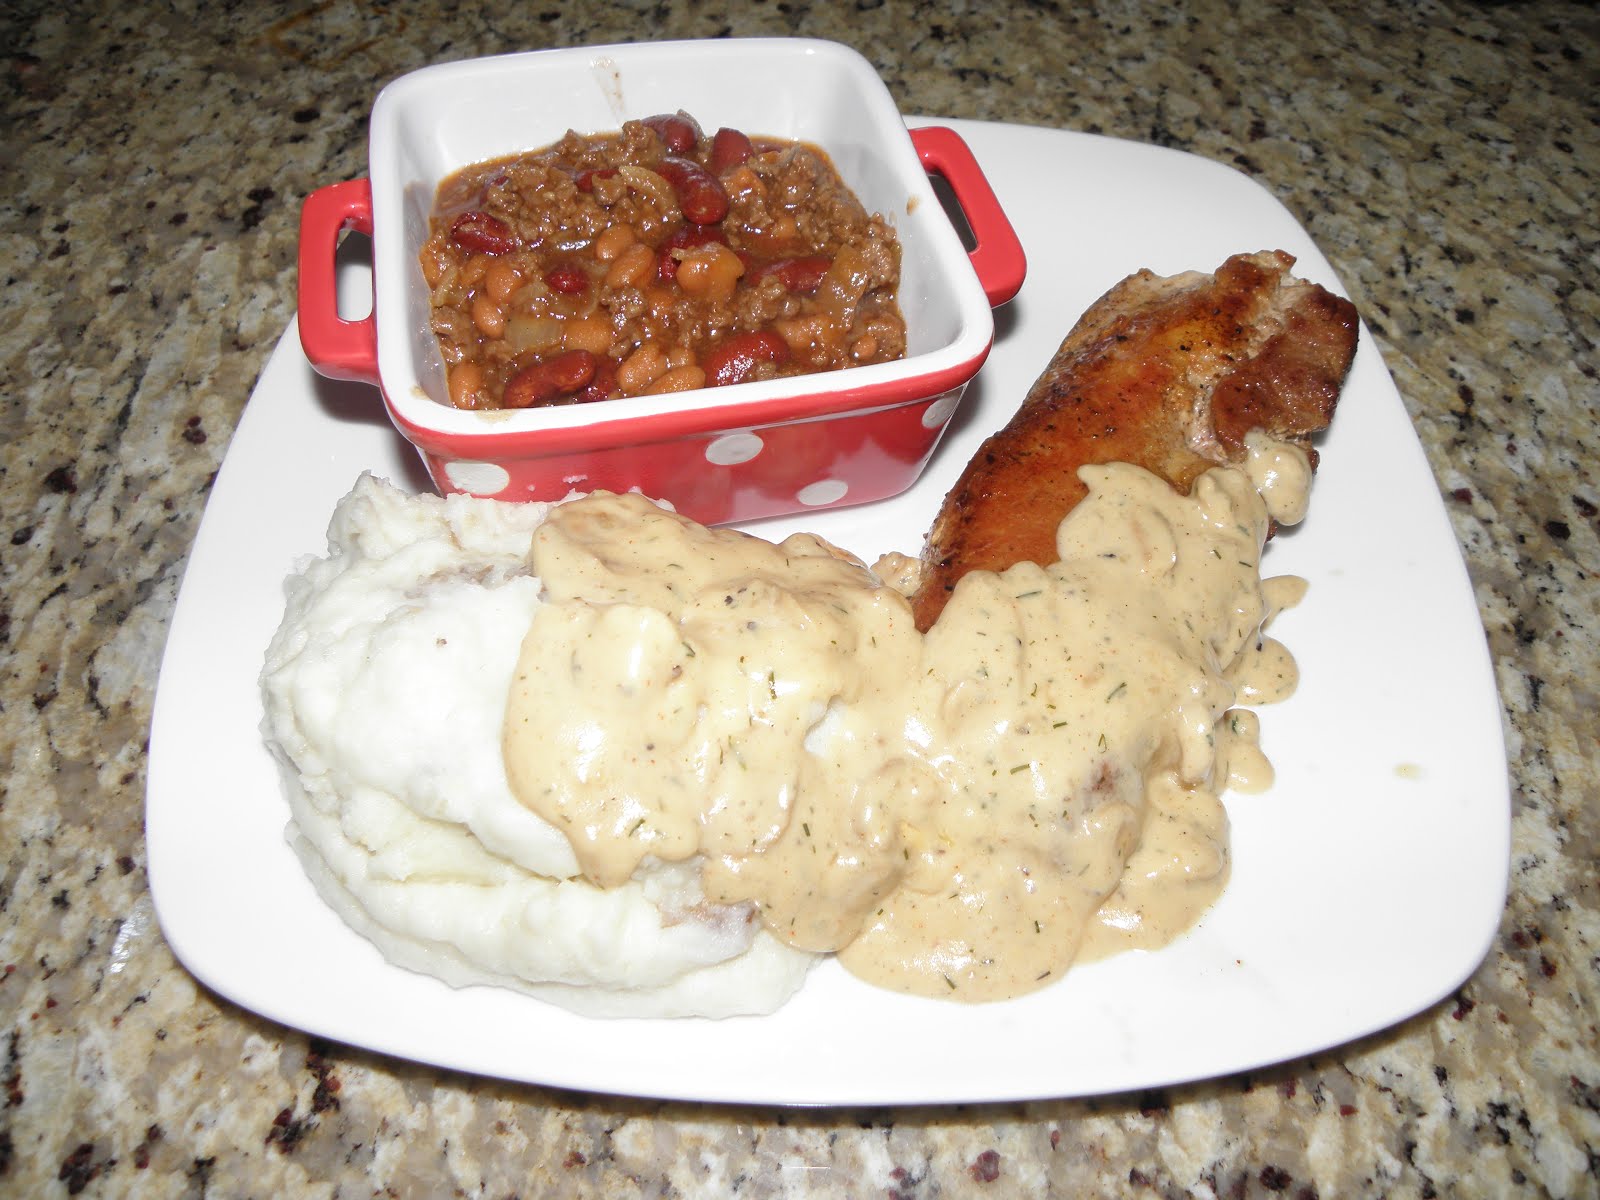
I feel kind of silly making this post because this isn't really a "recipe" but more a reason to show how truly easy it is to make great tasting pork chops. And, it's a very quick meal to fix.

This will work with any pork chops, but the ones I have here are boneless pork sirloin chops. I usually buy the bone-in, but these were on a BOGO sale.

Pork chops
1 tsp. sage
Butter or oil for pan
Salt & pepper to taste

Place a little butter and/or veg oil in your skillet and turn onto medium or medium-low. I cook on a gas range and medium can run a little too hot so I usually cook over medium-low.

Place your pork chops in the skillet and sprinkle a little sage and your salt & pepper over them. It will only take 4-5 minutes per side for the chops to be done. You want to make sure that when you poke them with a fork or knife that your juice doesn't have any pink in it. The juice must be clear in order for the chops to be considered done. When you turn them over the first time, be sure to sprinkle more sage, salt & pepper on them. If you don't like sage, leave it off. Salt & pepper by themselves are great too. (Although, this amount of sage is not overpowering at all.)

When your chops are done, if you are going to make gravy, remove the chops to a plate covered with foil and make your gravy in the same skillet. You'll get some good flavoring in your gravy from what is left in the pan.

Friday, March 16, 2012

Mashed Potatoes (in the mixer)

I got a new KitchenAid stand mixer a year ago and soon after, a friend of mine asked what I had made in it so far. I named a few things and she asked, "No mashed potatoes?" I said, "You make mashed potatoes in a mixer?" And for the last year, that's the only way I've made mashed potatoes. Thanks for the tip, Erin!

Even though I mostly cook for 2 people, when I make mashed potatoes I always make way more than a serving for 2. Because we love mashed potatoes and because I like to make potato patties with the leftovers.

I leave the skins on the potatoes and I'm not going to pretend it's because all the vitamins are in the skins. It's simply because I'm lazy. Peeling potatoes is my least favorite cooking chore to do. If you want to peel the potatoes, by all means, do. Knock yourself out.

When you leave the skins on, these will not be lump-free mashed potatoes, obviously. If you want them truly lump-free, peel the potatoes and let them mix longer.

6 potatoes, quartered
6 Tbsp. butter
1/2 a stick of cream cheese (about 4 oz.)
3/4 C milk or cream or half & half

Boil the potatoes in salted water just until the potatoes are tender enough to poke a fork into, but NOT mushy. Firm is best.


Place a wooden spoon over the pot when you first turn the burner on, and that prevents it from boiling over. Don't ask me why it works but it always does.

Drain the potatoes when they are done to your liking and then put them into the bowl of your stand mixer. Add butter, milk and cream cheese, then turn the mixer on low and let it mix for at least 5 minutes. Take a test, make any adjustments you want (add a little more butter or milk if needed) and then mix for at least another 5 minutes.


Easy.

Pictured above with pork chops, gravy and baked beans.

4th of July Beans

For many years my family spent the week of the 4th of July over at my parents place in Eastern Washington. A lot of time was spent at the farm playing games, eating, playing the bean bag game out in the backyard, playing baseball in the front field, eating, laughing and more eating. Many hours were spent down at the Snake River too, complete with waterskiing, swimming, fishing, playing games, and of course, eating!

One of the dishes we had every year was the great side dish of baked beans that my Aunt Janice always made. They were SO good, but boy were they powerful in another way. So I named them 4th of July Beans for 2 reasons. One, because we had them every year we got together for the 4th of July, but also for the "fireworks" that happened awhile after eating these beans. Oh, those were fun times at the river. What a gas!


This picture doesn't show the hamburger or the onion, but these are the other ingredients.

Listed here are all of the ingredients:***

1.5 to 2 pounds ground beef
1/2 C chopped onion
1 large can pork-n-beans
1 15 oz. can kidney beans
1/2 C brown sugar
3/4 C ketchup
1/2 C BBQ sauce
1 pkg. dry onion soup mix
1 Tbsp. prepared mustard
1 tsp. chili powder

I love to use a Dutch oven because you can brown your hamburger and then make the rest of the dish in the same pot.

Brown your hamburger. While it is browning add your chopped onions. When the hamburger is browned throughout, drain it, if needed.

To the browned hamburger add all of the other ingredients and stir frequently over medium-low heat. Reduce heat to low after about 20 minutes and let it simmer, stirring frequently. It will be ready to eat in less than an hour, but if you want you can put it into a 300 degree oven and let it further bake for another hour or so.


Once in awhile I add some bacon to this, and of course that's great.

This is ALWAYS a big hit.


***For those of you that have this recipe from our family cookbook, this is a slight variation from that, but generally the same. Both are great.

My dear Aunt Janice passed away 5 years ago and I miss her a ton. She left me with lots of great memories and some great recipes too!

Thursday, March 15, 2012

Chili Lime Chicken Enchiladas


I bought some limes at Trader Joe's the other day and decided today was the day to use a couple of them. But what should I put them in? I've been hungry for chicken enchiladas, so off I ran to the store to buy a rotisserie chicken. (I have a freezer well stocked with chicken breasts, but I didn't want to take the time to thaw, cook and shred them.)

I love lemon anything, and lime is a close second to lemon. Lime is often found as an ingredient to give Mexican food a little something extra to bump up the flavors. So, here goes:

1 rotisserie chicken, deboned and deskinned. It was probably 5-6 cups of chicken.
The juice of 2 small limes
1/2 C honey
1.5 Tbsp chili powder
1 tsp garlic powder
1/4 an onion, finely chopped
6-8 slices jalapeno from a jar, finely chopped
2 C grated cheese, divided
3/4 C sour cream, divided
3/4 C heavy cream, divided
1 C enchilada sauce, OR non-chunky salsa
Handful of chopped cilantro
6 flour tortilla shells


Here is the rotisserie chicken, completely deboned and skinned and slightly shredded.


Here are the onions, finely chopped. I use a Pampered Chef chopper to get them uniformly fine like this.

Take a sealable plastic bag and place your lime, honey, chili powder, garlic powder, onions and jalapenos in it, along with the shredded chicken. Zip the bag shut and mix the ingredients really well, until everything is well coated. Place in fridge for at least an hour. Overnight would be OK too.


Here are all the flavorings and the chicken mixed up in the zip loc bag, ready to go in the fridge.

When you are ready to assemble your enchiladas preheat oven to 350. Lightly grease the bottom of a 9X13 casserole dish.

Remove the chicken from the bag, placing into a medium mixing bowl. Add 1/4 C cream, 1/4 C sour cream and 1/4 C enchilada sauce or salsa, plus 1 C of the cheese. Mix well. (You can mix the creams and sauce prior to adding it to the chicken, if you wish.)


Fill your tortillas with approximately 1 C of the chicken mixture and roll the tortilla closed, placing it seam-side down in the casserole dish. Repeat until all of your tortillas and filling is used.

Mix together 1/2 C cream and 1/2 C sour cream with 3/4 C enchilada sauce or salsa and pour over the top of the rolled tortillas. Sprinkle the cilantro over the tortillas and then top with the remaining cheese.


Bake at 350 for 30 minutes.


There was only a slight hint of the lime flavoring; I would have liked a little more, so next time I will use 3 limes. You can adjust as you see fit.

Sour Grapes

I saw this recipe on Pinterest - it's not my own idea. But it sure is yummy!


1 bunch of green grapes (maybe 3 cups of grapes)
1 large box of lime jello (pictured here is a box of sugar free jello. It does not have to be sugar free.)

Rinse the grapes but don't dry them. You want water left on them so the jello sticks. Pour the jello powder into a plastic baggie. Remove all the stems from the grapes and place a handful at a time into the baggie. Shake to cover the grapes. Keep adding grapes a handful at a time and shake to cover.

When all of the grapes are covered with jello powder, place them in the freezer for at least 2 hours. (Pictured here right next to the real popsicles.) :)


Even if you don't want to cover your grapes in jello powder, try freezing them sometime. They are like mini popsicles. A great treat, especially in the hot summertime.

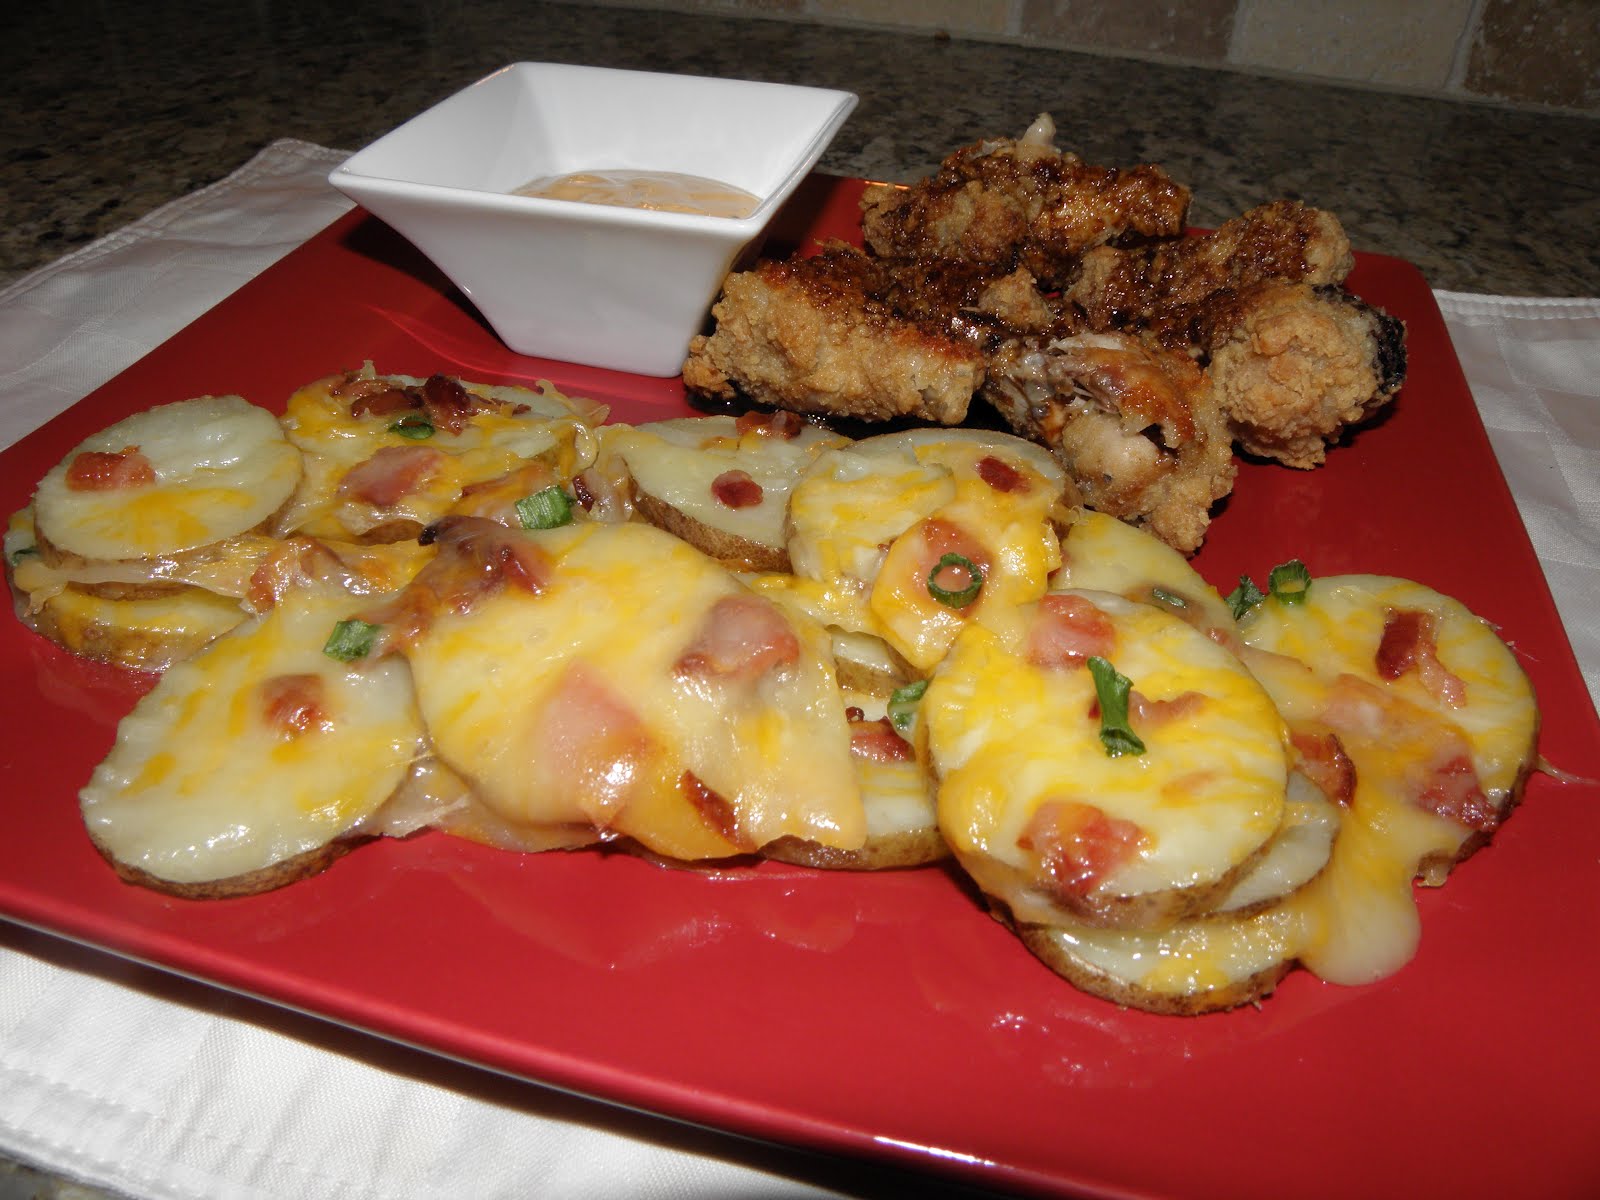
Cheesy Potatoes with bacon


If you like potatoes, cheese and bacon, you're going to like this recipe!

The amounts I have listed here give 2 people a large serving each.

2 baking potatoes (medium)
1/2 C colby jack cheese*
1/2 C mozzarella cheese*
3 strips of bacon, already cooked and crumbled
The green stems of 2 green onions, sliced very thin
Salt & Pepper to taste
Cooking Spray

*You can use any cheese(s) you want for a total of 1 cup. This is what I used this time.

Slice your clean potatoes into thin rounds - about 1/8 of an inch thick. I use a mandolin to get them thin and even. Then boil the sliced potatoes in salted water for only 4 minutes.


Preheat oven to 375.


Drain the water and pat dry the potatoes. I used a tea towel to spread them out on and pat them dry.

Spray a cookie sheet or baking pan with cooking spray. I use the butter flavored kind. What can I say - I am my Father's daughter!

Place the potato slices, overlapping, on the cookie sheet. You want them overlapped so the bacon and cheese don't miss the potatoes and just go onto the cookie sheet instead. When you have all of your potato slices in place, spray with some more cooking spray, then salt & pepper them.

Sprinkle the bacon, onions and cheese over the top. Bake in the oven for 12 minutes.


Ready to go into the oven in the above picture.


Pictured here alongside some chicken wings in soy sauce (from Trader Joe's), and a container of dipping sauce.

This is a great side dish all on its own. But if you want something to dip them in, I recommend Creamy Chipotle Ranch, a salad dressing made by Marie's.


Yum!

Tuesday, March 13, 2012

Brown Sugar Chicken with Bacon

I saw a recipe somewhere that mentioned chicken and bacon rolled in brown sugar, but I couldn't find it today when I thought about making it. So, I was winging it, but it turned out great!

This is a recipe for 2 people:

1 boneless, skinless chicken breast
6 slices of bacon
1/4 tsp chili powder
1/4 tsp onion powder
1/4 tsp garlic powder
1/4 tsp pepper
1/2 tsp salt
1/3 C brown sugar


Preheat oven to 400. Grease the bottom of a medium casserole dish.

Mix together all of the seasonings, except the brown sugar. Put the brown sugar on a plate or a shallow bowl.

Slice your chicken breast into 6 pieces, so the pieces are long and somewhat narrow. I had no trouble getting 6 slices out of this one. (See picture above.) With your fingers, sprinkle the seasonings over both sides of the chicken.

Wrap a slice of bacon around each of the pieces of chicken.

Roll the bacon-wrapped pieces of chicken in the brown sugar and then place in the casserole. I used 2 toothpicks on each piece of chicken to hold the bacon in place once I wrapped it. This keeps the bacon from coming off when you roll it in the brown sugar. (Remove the toothpicks when you place the rolled pieces in the casserole dish.) Here's a cheapskate tip: You can use the same 2 toothpicks for all 6 slices. :)


Bake in 400 degree oven for 35 minutes. When serving, be sure to pour some of the juices from the bottom of the casserole dish over the chicken. It has a slight tangy flavor and adds to the overall flavor. This is a delicious dish.